


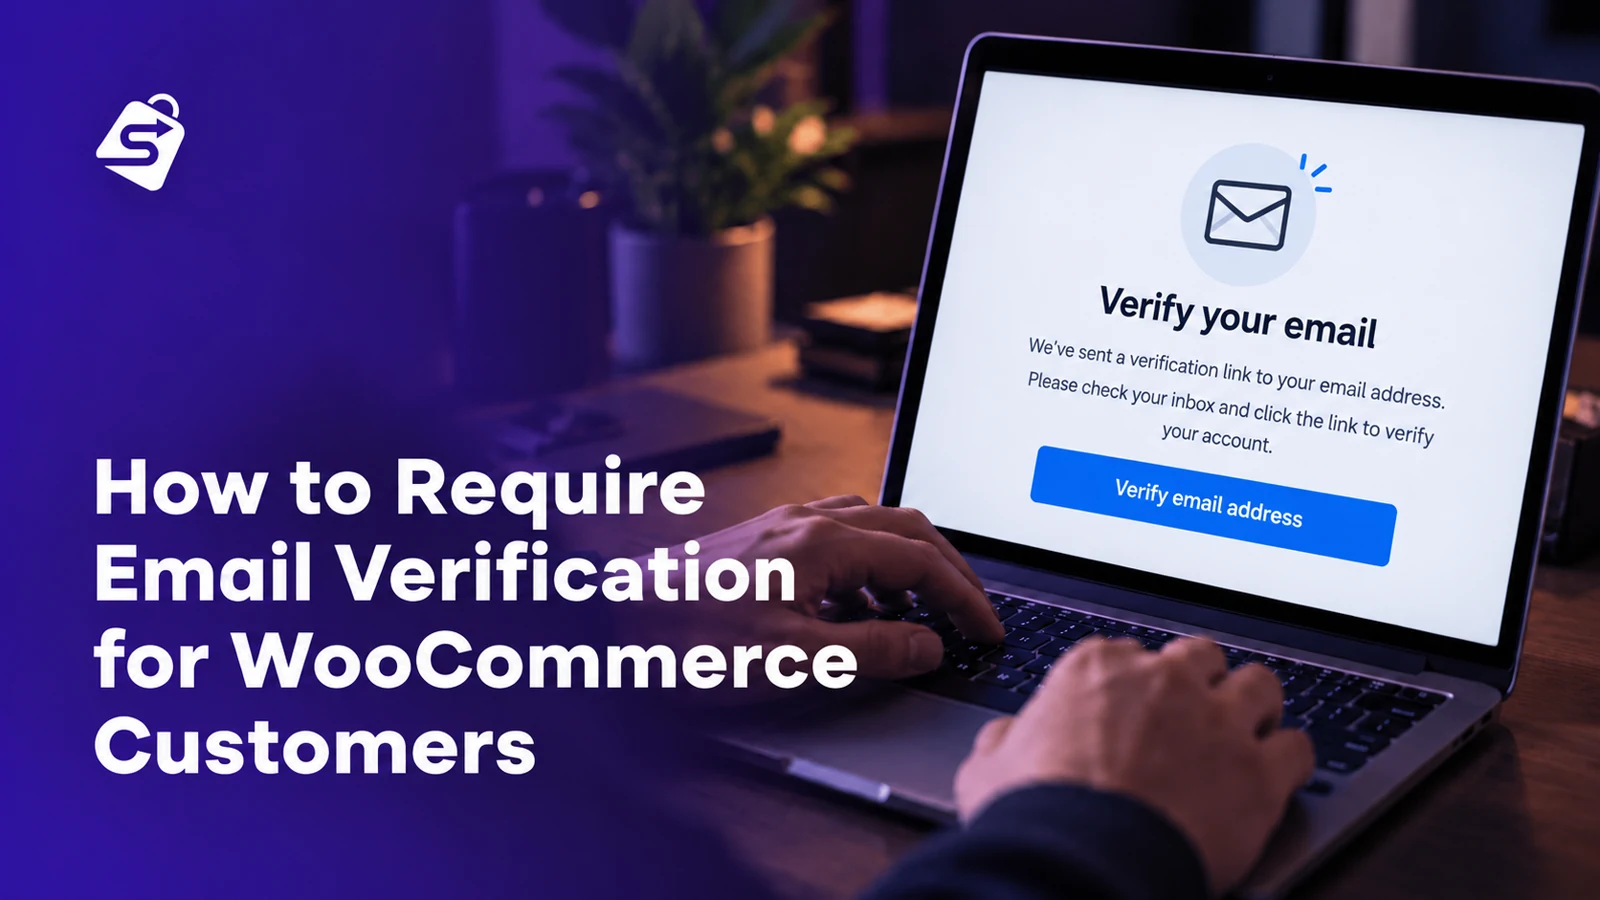
Requiring email verification for WooCommerce helps you check that a new customer can access the address they registered with. With Swift Commerce Free, you can add this check to My Account registration before the customer signs in.
In this guide, you’ll use Swift Commerce to send a verification link after registration on the WooCommerce My Account page. The customer confirms their email address, then signs in with the password they chose during registration. This registration workflow is available in Swift Commerce Free.
This is not manual account approval, and it does not force every guest shopper to create an account. We’ll keep those differences clear as we go.
Current dashboard: Registration Form and Email Verification now share Registration & Access. The screenshots below show the earlier separate screens. Use Forms for custom fields, Access for verification or approval, Emails for messages and Pro’s Registrations for review. The steps below use those current locations.
In this guide
What you need before you start
- An active WooCommerce store and administrator access to WordPress.
- Swift Commerce Free installed and active. If you already use Pro, keep Free active alongside it.
- A working My Account page with customer registration enabled.
- An email address you control for a new test customer, plus a separate private browser window for testing.
Use a staging website for the first test if your store is already taking orders. Keep your administrator session open, and check that the website can deliver email before making verification part of registration.
1. Enable registration on the WooCommerce My Account page
- In WordPress, open WooCommerce → Settings → Accounts & Privacy.
- Find the Account creation settings and enable registration On “My account” page. Older WooCommerce versions may describe this as allowing customers to create an account on the My Account page.
- Click Save changes.
- Open your store’s My Account page in a private window and confirm that a registration form appears.

If you can only see the login form, check this WooCommerce setting first. Enabling Email Verification does not enable customer registration for you. You do not need to enable WordPress’s separate “Anyone can register” setting for this WooCommerce My Account walkthrough. WooCommerce explains this separate registration setting in its Accounts and Privacy documentation.
2. Enable email verification for WooCommerce
- Open the Swift Commerce dashboard.
- Go to Registration & Access. You can also find it through the dashboard’s feature search.
- Open Access and turn on Require an access check.
- In Access → Registration forms, turn on WooCommerce My Account.
- Leave WordPress Registration off if you do not also want to protect the native WordPress registration form.
- Click Save Changes.

In Access, confirm that Verification Mode is Email Verification. With Free, email verification is the available mode. Pro also offers Admin Approval, which waits for your decision instead of letting the customer confirm their inbox.

3. Check role exemptions
In Access, expand Role exemptions. Leave Customer (WooCommerce) unchecked if new customer accounts must verify their email addresses, then save any changes.
An exemption means the selected role can bypass verification. It does not assign that role to a user. If another registration feature gives customers a custom role, check that role too.
If Swift Commerce’s Registration Form feature also controls your WooCommerce form, you may see Registration Form controls fields. Keep it enabled if you want that feature’s custom fields and field order. Turning it off uses Email Verification’s default password setup fields instead. Either way, check that the customer can enter a password during registration.
4. Review the verification email
- Open Emails and find Verification Email.
- Click Customize Email to open the built-in Email Customizer.
- Review the subject, heading and message. Make it clear that the customer needs to confirm their email address before signing in.
- Keep
{{verification_link}}in the message. This supplies the customer’s verification action. - Save your editor changes, close the customizer and save any remaining feature changes.
You can use the placeholders shown in the editor, including {{user_name}}, {{site_name}} and {{expiry_time}}. Use the actual expiry placeholder instead of typing a deadline that might become wrong after a settings change.
Preview the email on desktop and mobile, then use Send test email to check its appearance and delivery. The test uses sample data; it does not verify a real customer account. The next step checks the actual registration flow.
5. Register a new customer and test both sides of verification
- In your private browser window, open My Account.
- Register with a new email address you control. Enter the password and any confirmation field shown by your registration form.
- After submitting, check the registration notice. The new customer should not be automatically signed in.
- Before opening the email, try signing in with that customer’s correct credentials. The account should be blocked until verification is complete.
- Open the verification message in your test inbox and follow its verification link.
- On the confirmation page, click Verify email address. Opening the email link alone is not the final confirmation in the current workflow.
- Return to My Account and sign in using the password created during registration.
That before-and-after login test matters. Receiving an email proves that a message arrived; it does not prove that unverified accounts are blocked or that verification works.
Use a genuinely new test account. Existing accounts that do not have a Swift Commerce verification record are not automatically forced through a new verification process when you enable the feature.
6. Add checkout enforcement only if you need it
My Account registration verification and checkout enforcement are separate settings.
With Pro, Access → Checkout Enforcement → Logged-in Checkout requires tracked, unverified users to complete verification before placing an order. The implementation covers classic checkout and Checkout Blocks. Save the setting and test your store’s actual checkout before relying on it.
This does not require guest shoppers to verify an account they do not have. It is also not a blanket rule that every account created by any checkout, form builder or third-party registration plugin is enrolled in verification. Test those other entry points separately.
If something does not work
The customer signs in without verifying
Check Require an access check in Access, WooCommerce My Account under Registration forms and Role exemptions. Repeat the test with a fresh customer created through My Account, not an old account or a user added manually in WordPress.
The verification email does not arrive
Check the entered address and the spam folder. Use the customizer’s test send to check whether the website can send email at all. If normal WordPress emails also fail, investigate your host’s mail setup or configured transactional email/SMTP service. A successful send response is not proof of inbox delivery.
A blocked customer can use Resend verification email from the login error. Public resend requests are rate-limited, so repeated requests should not be treated as a delivery test. With Pro, staff can also use the resend action in Registrations.
The verification link has expired or was already used
Request a fresh verification email and use its newest link. A completed verification link is not reusable. If the account has already been verified, try signing in rather than clicking the same link again.
The form has missing or duplicated password fields
Check whether Swift Commerce Registration Form or another registration plugin also changes the form. If the Registration Form controls fields option appears, choose the intended field source and test again on staging.
Frequently asked questions
Is WooCommerce customer email verification available in Free?
Yes. My Account registration verification, the verification email and role exemptions are available in Free. Pro adds manual approval, registration review, logged-in checkout enforcement and advanced link, retention and redirect controls.
Will existing customers have to verify again?
Not automatically. Accounts without Swift Commerce’s verification tracking are allowed through the login check. This walkthrough applies to new registrations captured by the enabled integration.
Does email verification stop all fake registrations?
No. It checks access to the supplied email inbox; it does not establish a customer’s identity or replace CAPTCHA, payment checks or other security measures.
Can I approve customers manually instead?
Yes, with Pro. Follow our guide to requiring admin approval for WordPress registrations, then select Admin Approval instead of Email Verification. The customer then waits for a staff approval decision rather than activating the account with a verification link.
Can I change link expiry or delete unverified accounts automatically?
Those controls are in Pro’s Access → Links, Resends & Retention section. Leave Auto-delete Unverified Users set to Never while setting up and testing. Cleanup can delete eligible unverified WordPress accounts; approval applications, restricted accounts and accounts protected by existing content or orders are excluded.
Finish with one complete registration test
Before inviting customers to use the form, confirm three things: the email reaches an inbox you control, the new account cannot sign in beforehand, and it can sign in after confirming the link. If all three work, the My Account verification workflow is ready for your store.
For the full settings reference, see the Registration & Access documentation. You can also review the Registration & Access feature before adding the optional Pro controls.
For the next setup task, see customizing the WordPress registration fields.